
Full 25-point door and opener safety check with every visit - springs, cables, rollers, tracks, and your LiftMaster or Chamberlain opener included
You get a price before we start. It does not change when the truck arrives.
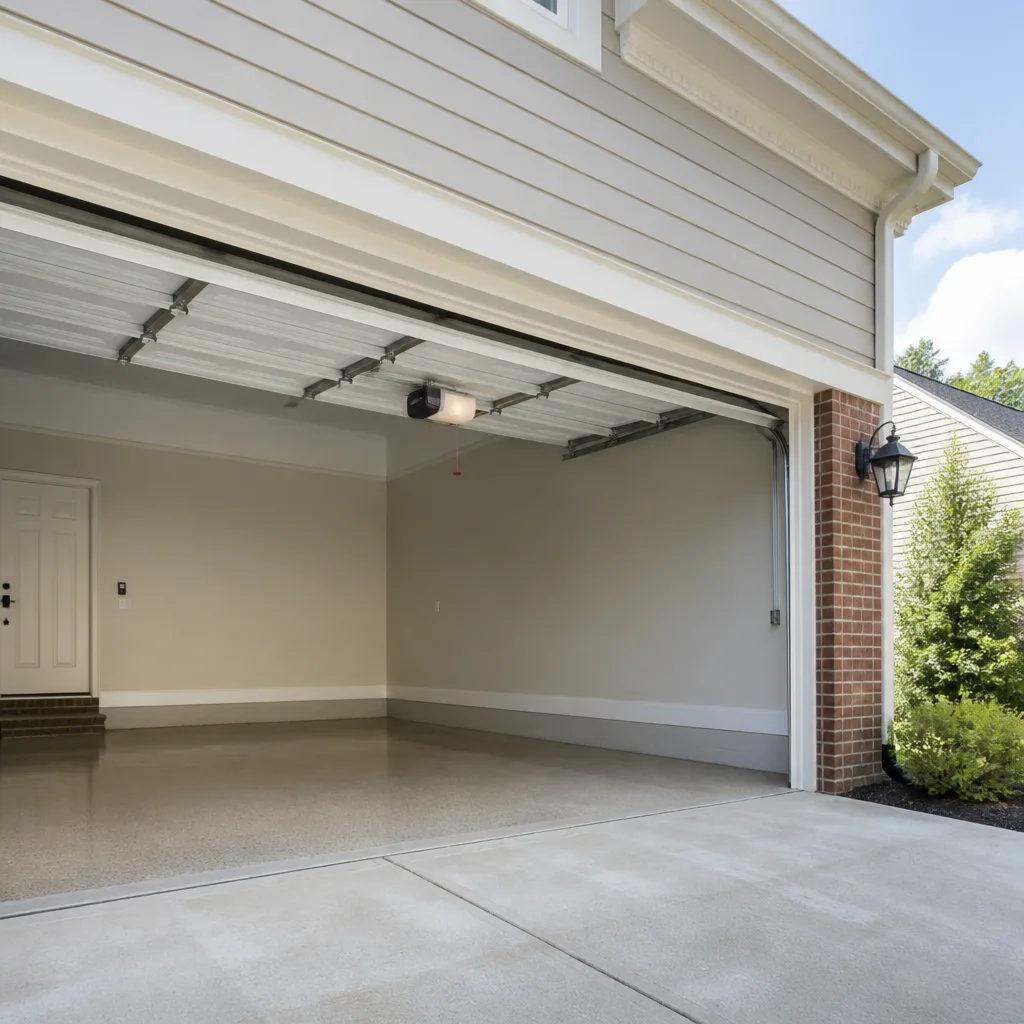
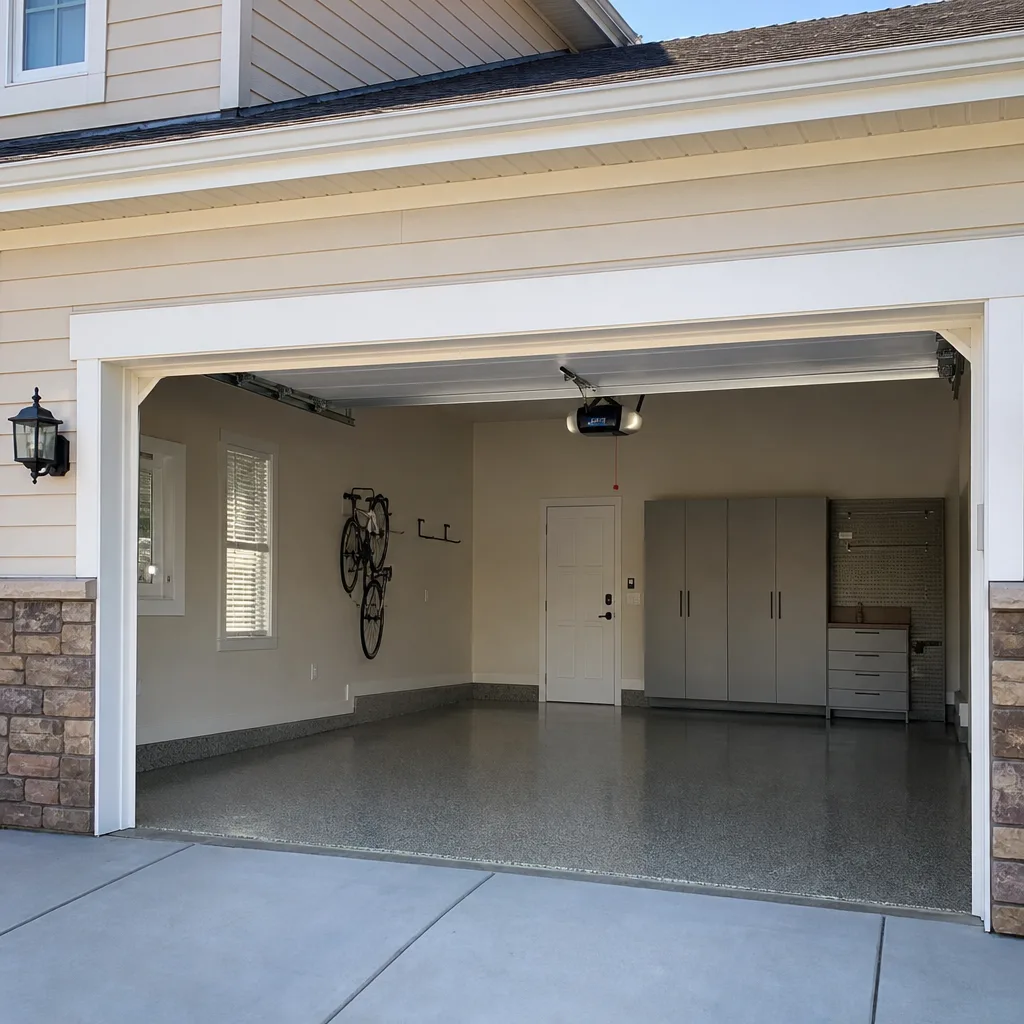
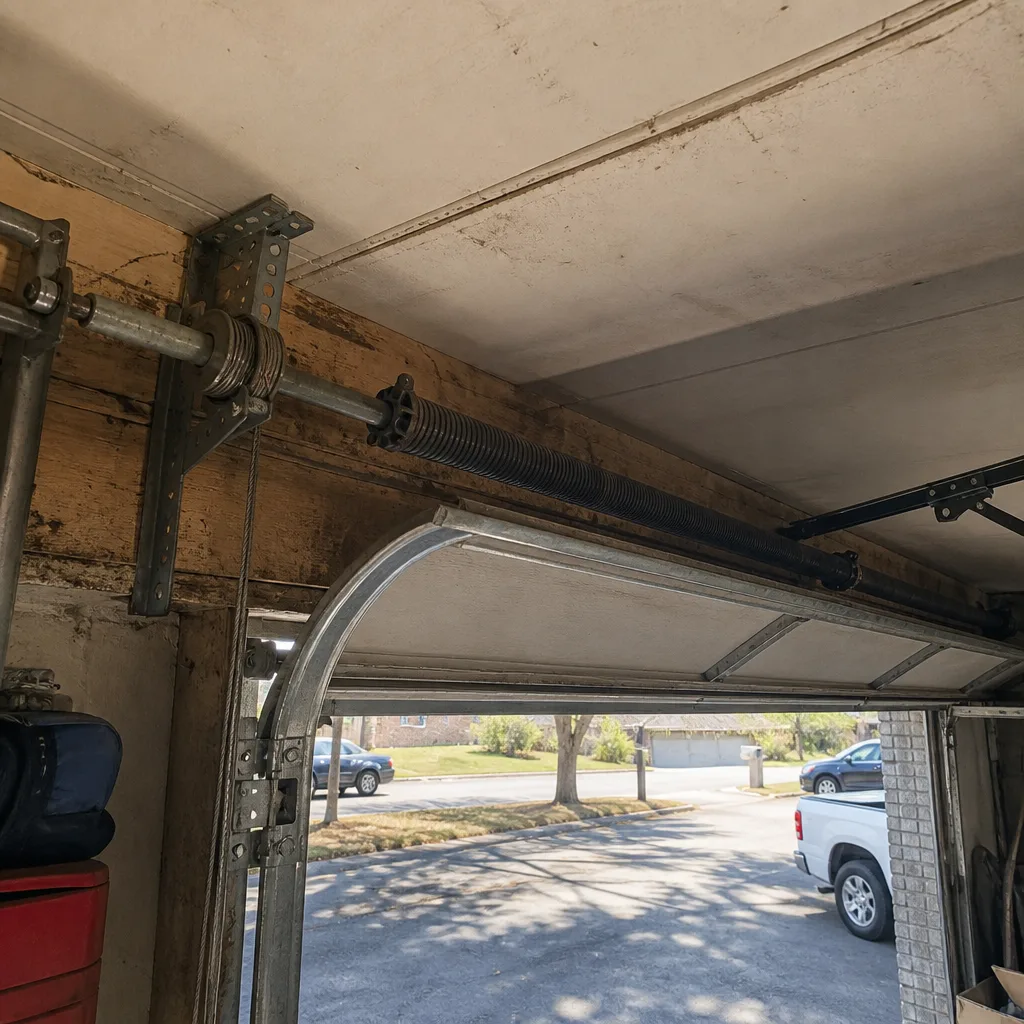 Before
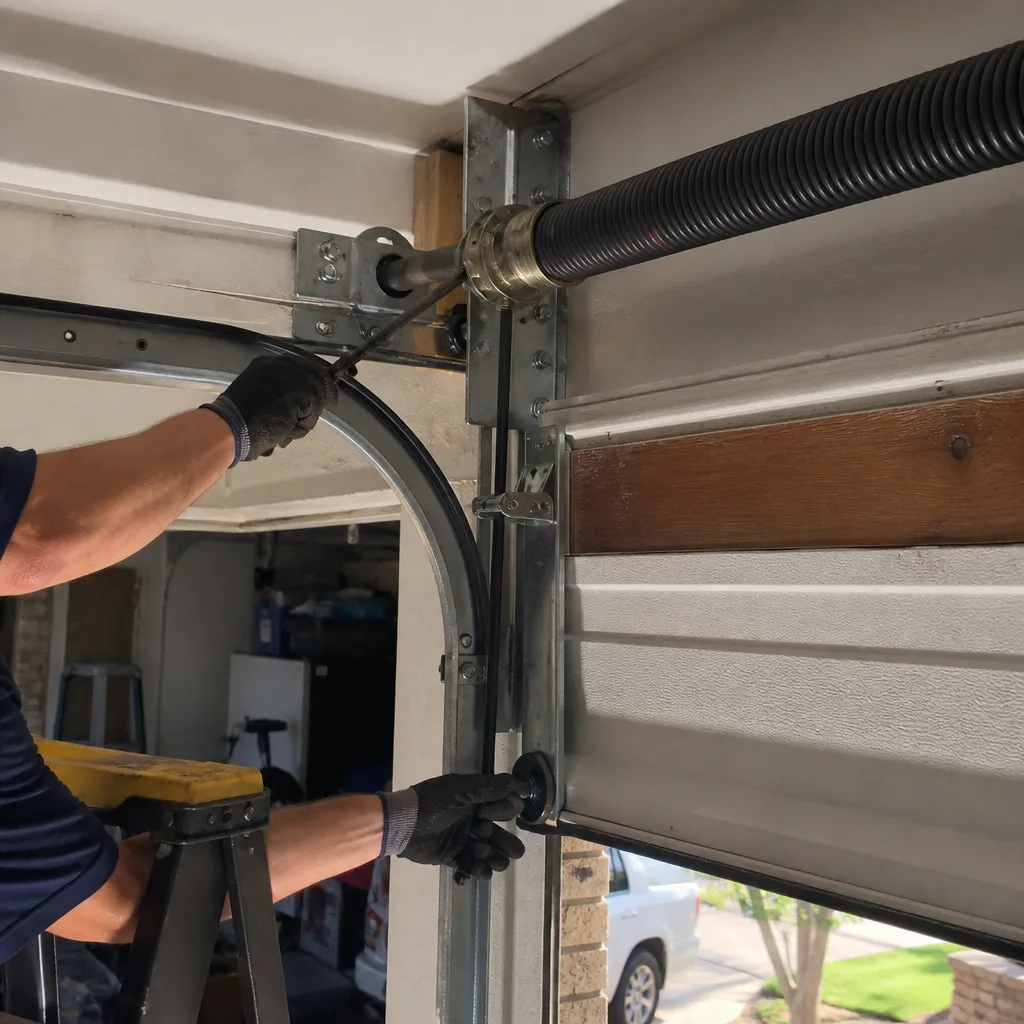 After
After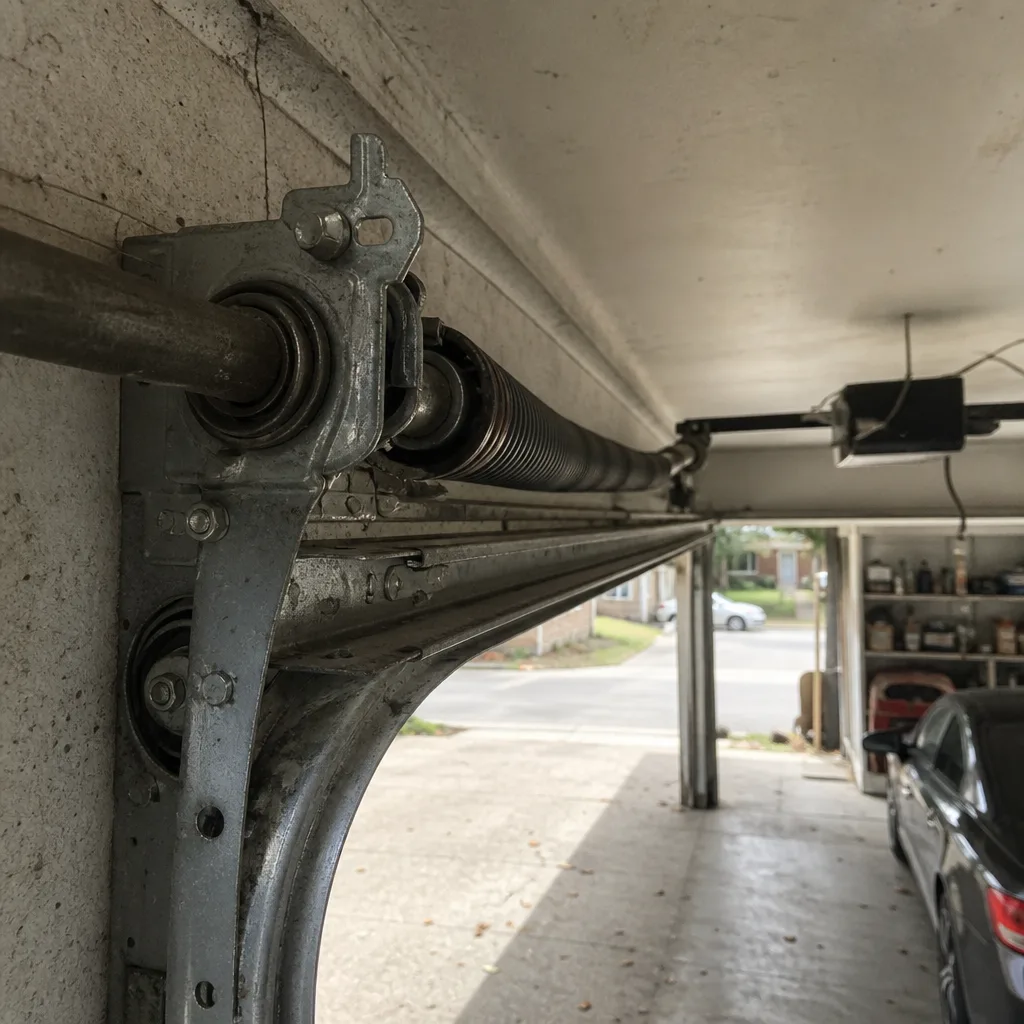 Before
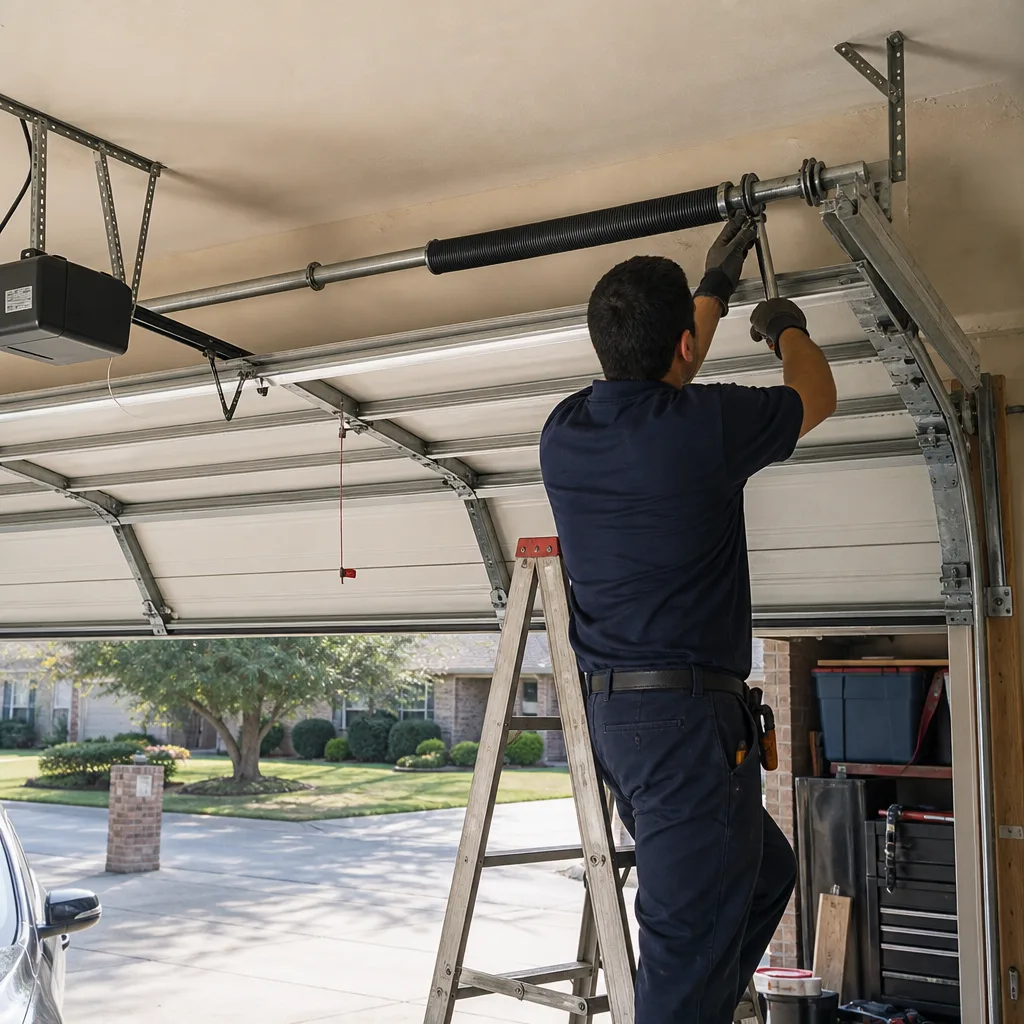 After
After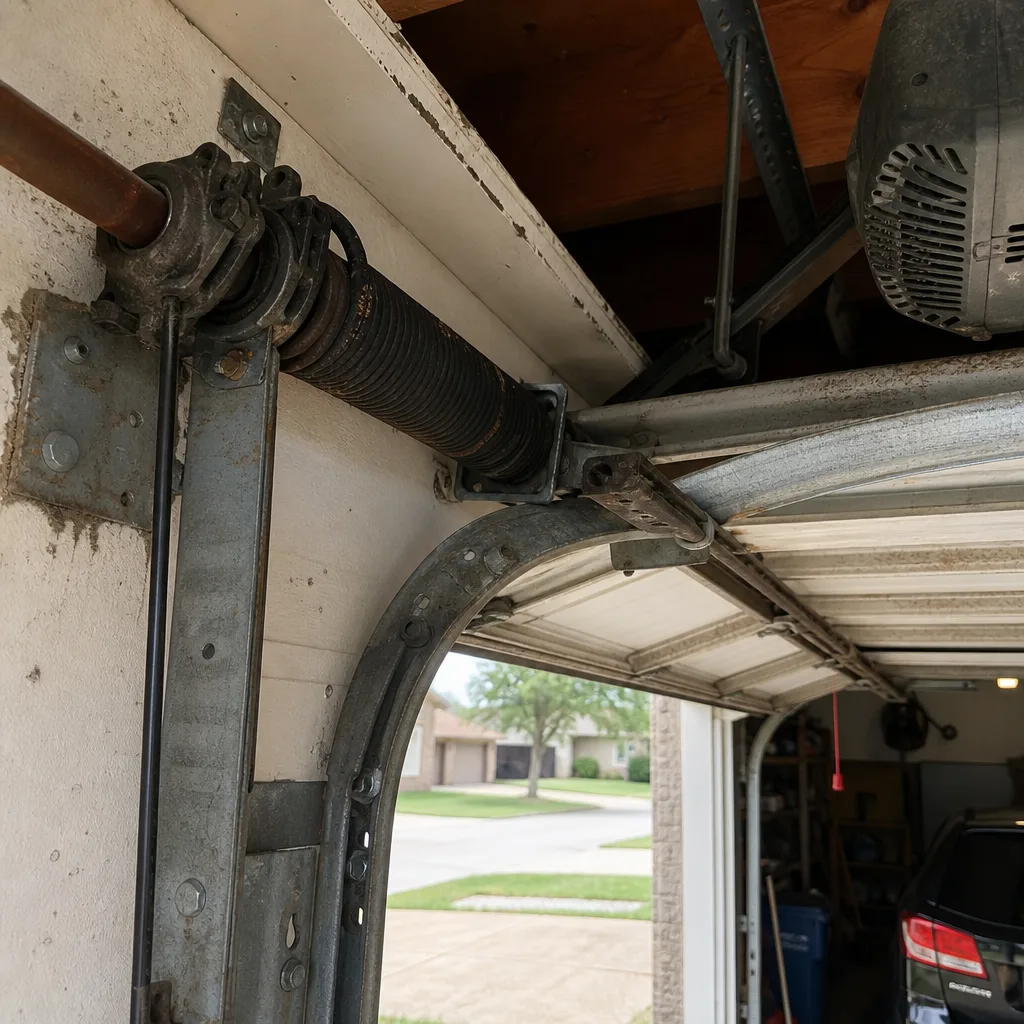 Before
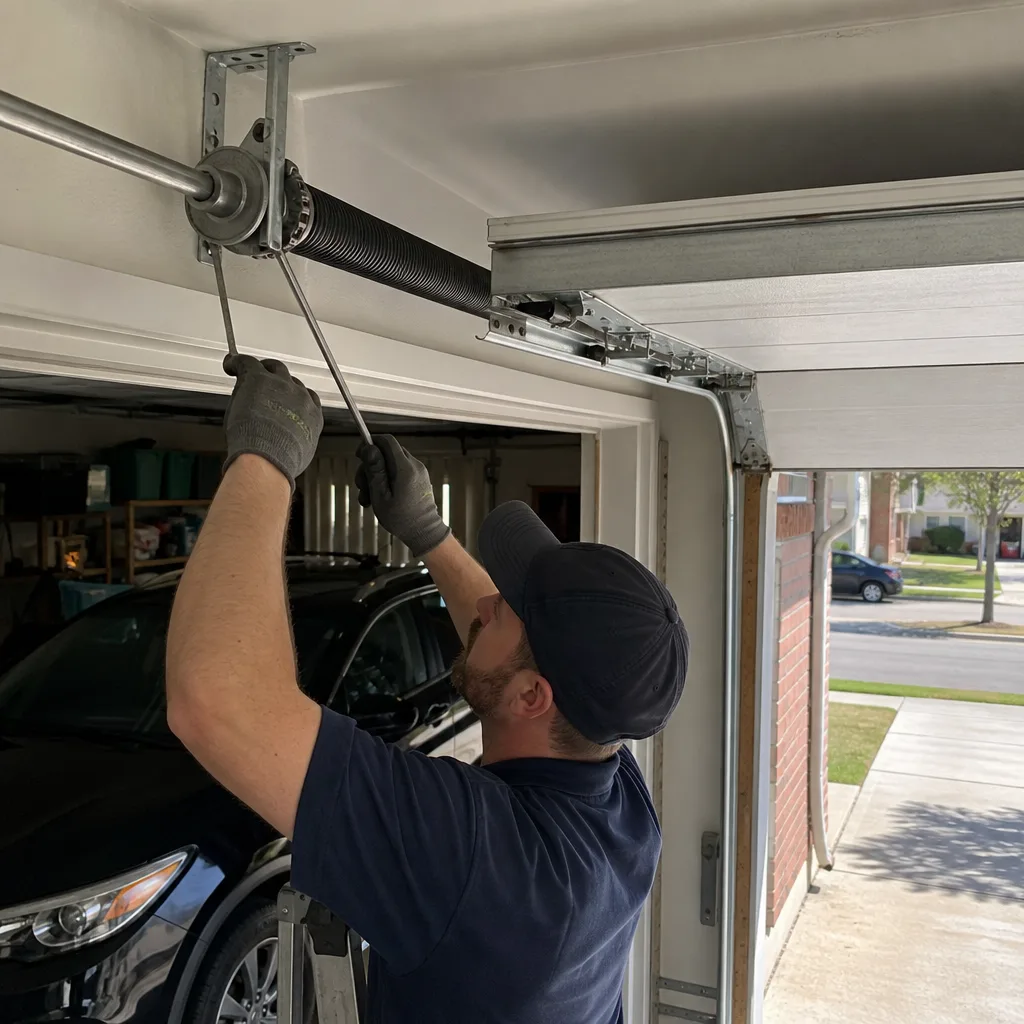 After
AfterLiftMaster Opener Logic Board Repair: The Coppell Owner’s Guide
LiftMaster opener logic board repair in Coppell typically runs $120-$320 installed, and we stock the most common boards for same-day replacement. Most jobs finish in under an hour once we’re on site. Homeowners usually discover the problem when their opener starts working intermittently, responds to the wall button but not remotes, or shows a solid or blinking error light that won’t clear with a reset.
Which LiftMaster Models This Applies To
LiftMaster has used several logic board families across its residential lines. The most common in Coppell homes are the 41A5021 series for chain-drive openers from the 1990s through mid-2000s, the 41A5507 boards found in belt-drive Elite models, and the newer 41AC050-1 boards in Wi-Fi-enabled 8500W and 8550W wall-mount units. Chamberlain-branded openers built during the same periods often use identical boards, which is why we carry cross-compatible stock for both brands.
To identify your board, kill power at the ceiling outlet, pop the opener’s light lens cover, and read the white sticker on the board itself. Model numbers fade, but the part number usually survives. We match by that number, by opener model stamped on the side rail, or by board dimensions if the label’s gone. OEM LiftMaster boards carry the purple or yellow learn-button housing color coding; quality aftermarket equivalents meet the same voltage and amperage specs at a lower price point. For openers under eight years old, we typically recommend OEM to preserve any remaining factory warranty. On units past ten years, a tested aftermarket board is the square deal.
Signs Your LiftMaster Opener Logic Board Is Failing
- Remote works only from inside the garage. The radio receiver section of the board is degrading. In Coppell, we’ve traced this repeatedly to heat fatigue; attic-mounted openers in Texas summer hit 140°F, and the receiver crystal drifts off frequency.
- Wall button works, remotes and keypad do not. This points to the logic board’s radio frequency stage failing while the hardwired circuit stays intact. The board is receiving the close command but not the wireless signal.
- Opener reverses immediately after touching the floor. The travel limit programming is stored on the board’s memory chip. When that sector corrupts, the opener forgets where “down” is and treats the floor as an obstruction.
- Learn button does nothing or the LED stays dark. The programming circuit has lost continuity. We’ve seen this after power surges in older Coppell neighborhoods near Denton Creek, where underground lines take lightning hits.
- Random opening or closing, especially overnight. The logic board is misreading inputs, often due to capacitor leakage on the board itself. This is the failure that sends most owners to unplug the opener entirely.
Replacement Cost & What’s Included
LiftMaster opener logic board repair in Coppell falls within our standard opener repair range of $120-$320. The low end covers straightforward swaps in standard chain-drive units with aftermarket boards already on the truck. The high end applies to wall-mount 8500 series units, OEM boards, or openers where we need to diagnose whether the board or the motor is the root cause.
Every quote is flat and final before we start. That means the board, labor, programming of remotes and keypad, travel limit adjustment, and safety sensor verification are all in one number. No trip charge, no “while we’re here” add-ons. The work carries our 90-Day Done Right Promise in writing. If the opener acts up for any reason related to our repair, we come back at no charge.
DIY or Call Us?
There’s no high-tension danger in a logic board swap, but there is a real risk of getting it wrong. The board connects to line voltage, the motor, the capacitor, and the safety sensor loop. Reversing a wire or failing to discharge the capacitor properly can destroy the new board on first power-up, or worse, send 120 volts somewhere it shouldn’t go.
What you can safely check: confirm the outlet has power, try a different remote battery, and inspect the low-voltage wiring to the wall button for chew damage from roof rats common near Coppell’s greenbelt corridors. Beyond that, the diagnostic tools and programming steps are specific to each board revision. We’ve had homeowners bring us openers where the DIY board was correct but the travel limits were never set, burning out the gear drive in a week. Tell me what it’s doing. We’ll go from there.
FAQs
In Coppell’s climate, expect 10-15 years from an OEM board in a ventilated garage, and 7-10 if the opener sits in an uninsulated attic space. Heat is the killer; the capacitor and voltage regulator cook first. Call (972) 646-8653 if yours is showing early symptoms - catching it before full failure saves the motor from running unprotected.
Component-level repair is possible but rarely practical. The board is a sealed assembly, and by the time one capacitor or relay fails, others are stressed. We replace the full board so you’re not chasing the next failure in six months. We quote the flat replacement price upfront.
Most LiftMaster logic board replacements take 45 minutes to an hour on site. That includes removing the old board, installing and testing the new one, reprogramming your remotes and keypad, and adjusting travel limits so the door seals properly without slamming. We carry the common boards, so most Coppell jobs finish in one visit.
Yes. We stock boards for the 41A5021, 41A5507, and 41AC050 series, plus cross-compatible Chamberlain equivalents. For less common or discontinued boards, we source overnight and schedule the swap the next day. Call (972) 646-8653 with your opener model or board part number and we’ll confirm what we have.
Written by Carl Dutton, Owner, Mainspring Garage Door Co. at Mainspring Garage Door Co., serving Coppell and nearby areas.